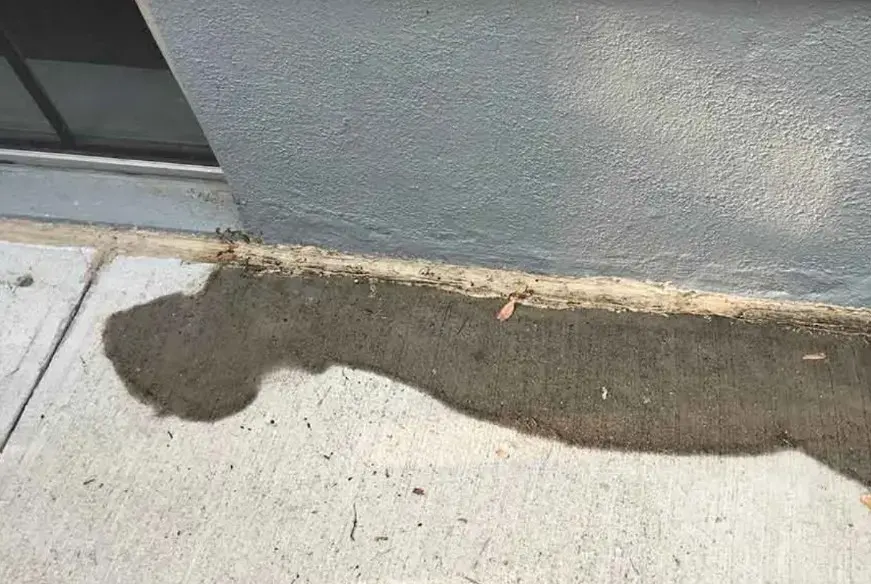
Most homes in Zephyrhills sit on a concrete slab, and many are single story concrete block houses built from the 1960s onward. When a copper supply pipe starts leaking under that slab, nothing drips and nothing stains a ceiling, so the damage grows out of sight. This post explains the early signs, how a hidden leak gets confirmed, and how the floor and walls are dried afterward.
Key takeaways
- A leak under the slab shows up as warm spots, a damp baseboard, a musty smell or a water bill that climbs with no visible cause.
- Shutting off every fixture and watching the water meter is the simplest first check a homeowner can do.
- Copper supply pipe under the concrete is a common source in Zephyrhills block homes, and it is found with moisture meters and thermal imaging, not by guessing.
- Slab and block hold water for a long time, so drying is monitored with readings until the material reaches its dry goal.
- Photos, dates and the meter reading help the insurance claim, so they are worth collecting before repairs start.
Why slab leaks stay hidden in a block and slab home
A slab leak is a leak in a pipe that runs beneath or inside the concrete floor. In a Zephyrhills house, the water supply pipe is often copper laid under the slab before the floor was poured.
Because the concrete sits directly on the ground, a pinhole in that pipe may not flood a room. The water soaks the soil, wicks up through the slab and moves into the bottom of block walls.
What makes block homes different
Single story block homes have no crawl space and no basement to show a drip. The first place water appears is usually the floor itself or the base of an interior wall.
Block is porous. Water that reaches the bottom course can climb into the cells and stay there well after the leak is stopped.
Why older Zephyrhills homes deserve a closer look
Homes built from the 1960s onward have had decades of water running through copper that sits in contact with concrete and soil. Over time, pinholes and failed joints become more likely.
Hard groundwater in the area is also tough on plumbing, which adds to the wear on fittings and fixtures throughout a house.
Early signs of a leak under the concrete
A slab leak rarely announces itself. It tends to show up as a pattern of small clues, and the more of them appear together, the more likely a supply pipe is the cause.
The signs below are worth checking in a room by room walk through the house.
- A warm or hot spot on a tile or wood floor, often where a hot water pipe runs underneath.
- A damp or stained baseboard, or paint that bubbles low on a wall.
- Carpet that feels damp or smells musty even though nothing was spilled.
- The sound of running water when every faucet and appliance is off.
- A water bill that rises for no clear reason.
- Cracks in grout or tile that were not there before, or a floor that feels slightly raised.
A simple check to separate a slab leak from a surface spill
A surface problem, such as a leaking dishwasher or a window that let in rain, usually has an obvious path. A hidden supply leak does not.
Three quick steps help tell the difference.
The meter test
Turn off every faucet, appliance and ice maker, then look at the water meter. If the dial or the small leak indicator keeps moving, water is escaping somewhere.
Write down the reading, wait a while, and check again. A change is a strong sign of a leak in the supply pipe.
Follow the damp spot
If the damp area is in the middle of a room, away from a window, sink or appliance, a leak under the floor becomes more likely. Damp areas that trace back to a bathroom or kitchen wall may point to a pipe inside the wall instead.
Both cases need a moisture meter before anyone cuts into a floor or wall.
Think about timing
Zephyrhills has a wet season from June to September, with near daily afternoon thunderstorms. Rain can soak the ground and make a damp slab look like a plumbing problem, or hide one.
If dampness continues through a dry stretch, plumbing is the likelier cause.
How the leak is confirmed and the damage mapped
Restoration work begins with finding where the water went, not just where it started. A technician takes readings across the floor and the lower part of each wall, then uses thermal imaging to see temperature patterns that point to the wet area.
A plumber then locates and repairs the pipe, which sometimes means opening the slab or rerouting the supply through the attic. Water damage restoration and the plumbing repair are separate jobs, but they are planned together so drying does not start before the leak is fixed.
The slab leak water damage page explains how that sequence works.
- Moisture readings are taken on the slab, baseboards and the lower part of walls.
- Thermal imaging shows where wet material is cooler than dry material around it.
- Flooring over the wet area is lifted if it traps moisture, such as tile over a damp slab or laminate that has started to swell.
- Baseboards come off so wall bottoms and block can be checked and dried.
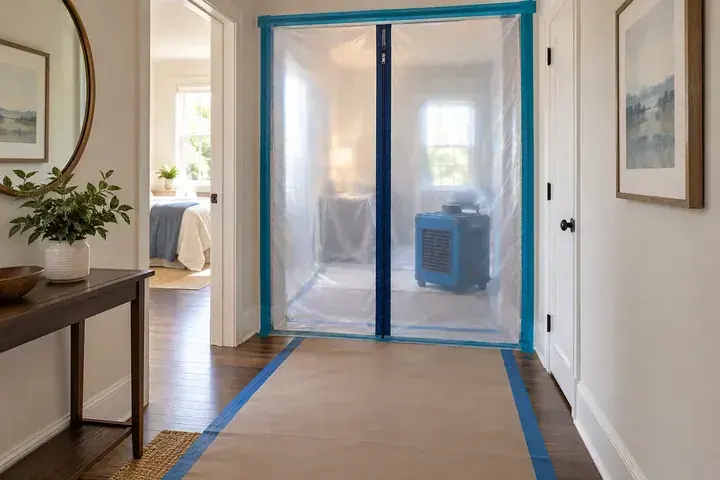
Drying a slab and block walls takes monitoring
Concrete and block release water slowly. A floor can feel dry on top while the slab underneath is still wet, which is why guessing is a poor way to decide when drying is finished.
Crews place air movers and low grain refrigerant dehumidifiers, and in dense material they may add drying mats or desiccant equipment. Readings are logged each visit until the slab, block and framing reach their dry goal.
The full process is covered on the structural drying page.
- Equipment is set to match what the readings show, not a fixed schedule.
- Warm humid Florida air slows the process, so the dehumidifiers do most of the work.
- Carpet pad and swollen baseboard are usually removed rather than saved.
- Flooring goes back only after the readings are dry.
What a homeowner can do while arranging help
A few simple steps limit the damage and protect the claim. None of them require tools.
- Shut off the main water supply if the meter keeps running and the leak cannot be located.
- Move furniture, rugs and electronics off the damp area.
- Take photos of every damp spot, stain and the meter reading with dates.
- Do not drill, cut or chip the slab. A plumber and a moisture map should come first.
- Keep the air conditioner running to help control humidity, unless water has reached electrical outlets or the air handler.
Cost and insurance questions
Cost depends on how long the leak ran and how many rooms are wet. The price cards on the slab leak page show a leak caught early in one room at $1,500 to $3,500, a leak spread under tile into two rooms at $3,500 to $7,000, and a long running leak across several rooms at $7,000 to $10,000.
Those are typical ranges, not a quote. Whether a slab leak is covered depends on the policy and on how the damage happened, so it is worth checking the policy wording or asking the insurer.
A wider look at related causes is on the burst pipe water damage page and the water extraction page.
Questions
Can a slab leak happen without any visible water?
Yes. Water often soaks the soil and the slab first, so the first clues can be a warm floor spot, a damp baseboard or a rising water bill rather than a puddle.
How can a homeowner tell if a leak is under the slab or in a wall?
A moisture meter and thermal imaging show the pattern of wet material. A damp area in the middle of a room points toward the slab, while a wet strip along one wall may point to a pipe in the wall.
Is copper supply pipe under the slab a problem in every older home?
No. Many last for decades. It is simply a common source of hidden leaks in houses with pipe under the concrete, especially as the home ages.
Should the slab be opened right away?
Not before the leak is located. A plumber confirms the pipe, and the moisture map shows how far the water traveled, so repairs and drying can be planned together.
How long does drying a slab take?
It depends on how much water got in and how dense the material is. Slab and block dry slowly, so the crew relies on daily readings instead of a set number of days.